
It comes in all colors, shapes and sizes, making it the perfect inspiration for our next project: Cake! Not only the taste is important with a cake, but it should also look beautiful. In this lesson series we are going to make cakes and maybe… also taste them.
Wayne Thiebaud
The American painter Wayne Thiebaud was also inspired by cake. Some see him as one of the founders of the art movement Pop art; a period in art history in which artists were inspired by everyday popular objects or persons. So the word 'pop' in Pop art comes from 'popular'.
The cakes he painted look to be eaten. By using strong light and shadow and beautiful spatial shapes, the cakes look just like real. When you see his works, you can almost imagine how the cakes will taste.
Drawing such tasty looking cakes is a real skill. But you can learn it too. In the first assignment we start with a small exercise.
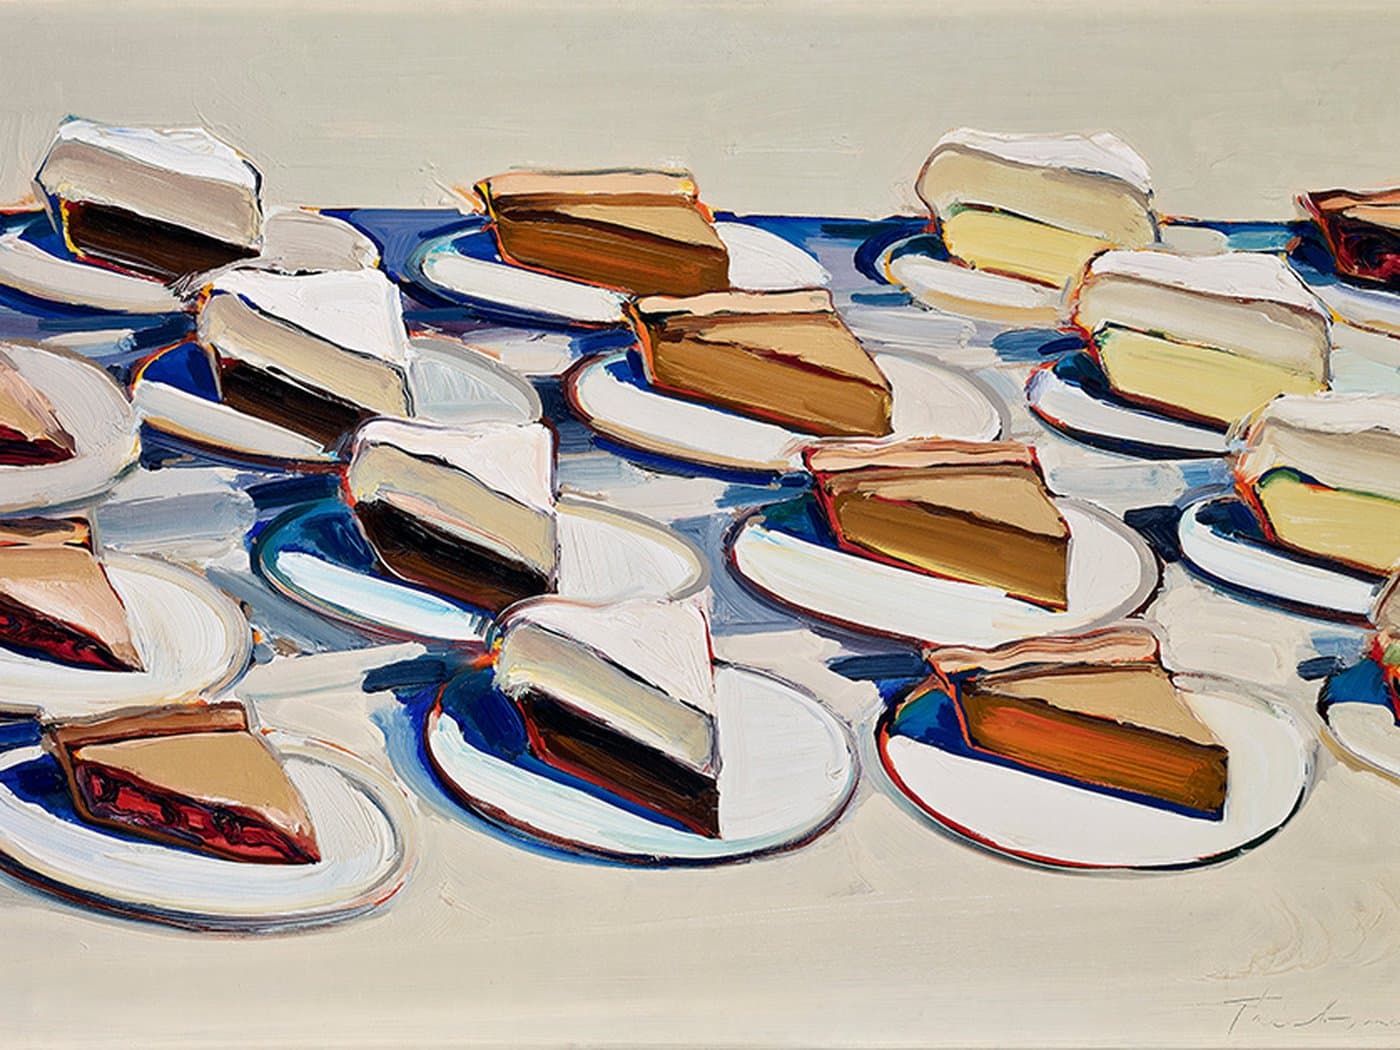
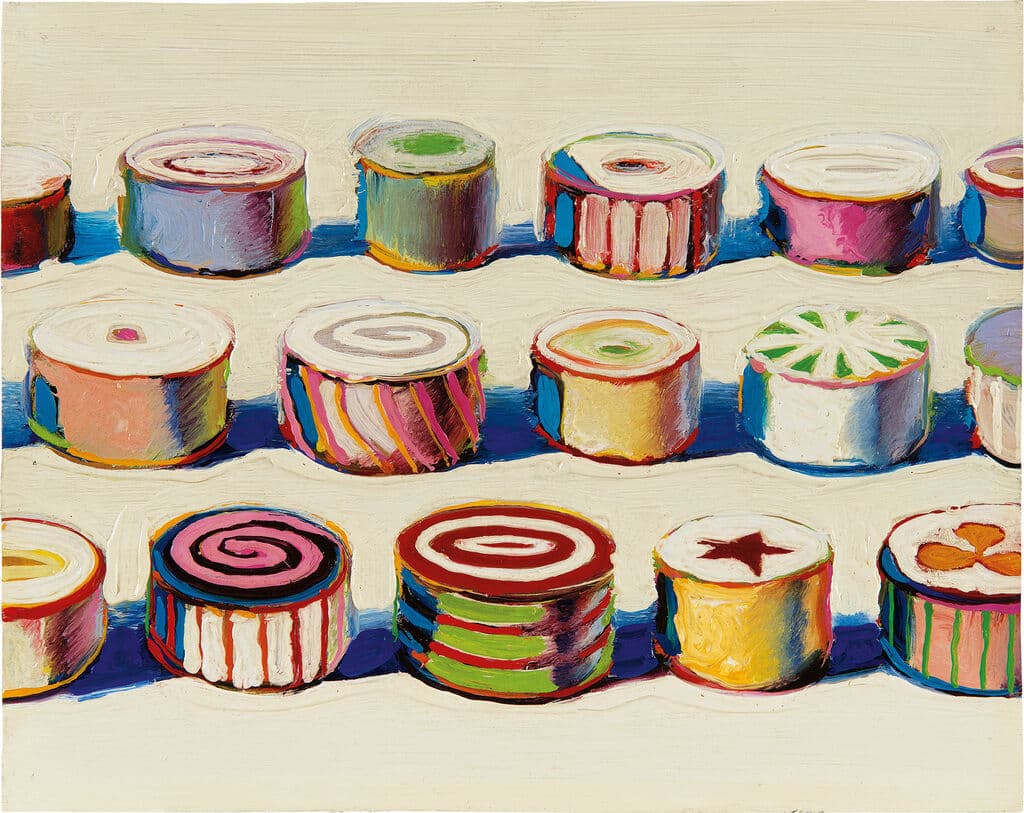


Album 1: Several works by Wayne Thiebaud
Geometric and Stereometric
Geometric shapes
A mathematical flat shape, such as a circle, a square or a rectangle, is also called a geometric shape. They are sleek shapes that you can make with a compass and/or a ruler.
Stereometric shapes
Spatial mathematical shapes such as a sphere, a cylinder or a bar are called stereometric shapes. The word 'spatial' means that the shape is 3-dimensional or 3D.
Drawing stereometric shapes
Everyone has drawn geometric shapes at some point. But can you also draw stereometric shapes?
Below is a list of stereometric shapes. Take a blank page in your drawing book and try to draw the shapes below. Not sure what shape is meant? Then try to find out together with your classmates.
- Cube
- Sphere
- Cylinder
- Prism
- Cone
- Pyramid
- 5-sided prism
- 6-sided prism
Get inspired!
This is a homework assignment. You can choose from the following assignments:
- Collect at least 5 images of pies, cakes, cupcakes, pastries, etc. It is important that the cakes are beautiful, look special and, above all, look good. Use magazines and/or the internet. Take the pictures printed in color with you to the next lesson. Or…
- Bake a cake! Make a cake, cake, cupcake(s) or pastry(s) alone or with a classmate. It is important that the cake is beautiful and special, but of course it must also taste good. Bring this cake to the next class. Please note that we will eat the cake together with the class at the end of the lesson.
Drawing cakes
We use the images or real cakes from assignment 2 as an example to start drawing cakes ourselves. Just like Wayne Thibaud. To make the cakes look real, you need to have a good grasp of drawing stereometric figures.
Video 1 explains step by step how to draw a cake.
Video 1: Drawing cakes example
Sketching
Take an empty page in your drawing book and make at least 6 sketches of cakes. Only use drawing pencil and try to vary. So draw cakes of different shapes and sizes. This assignment is for practice. Making mistakes is allowed!
When you have a cake ready, also draw a saucer or bowl underneath it as shown on the right.
Sculpt
As a final assignment for this lesson series, we are going to sculpt a cake. To ensure that your cake turns out good and beautiful, here are some tips and facts about clay:

Chamotte clay
The clay we use at school is coarse chamotte clay. This clay contains small stones that ensure that the clay shrinks less during drying. This allows you to make larger workpieces.

Tools
We use different tools for working with clay. A spatula, knife, mirette, roller, slats, pad and of course your hands. Although the mirette is intended for hollowing out clay, you may use these and other tools as you wish.

Drying
Clay that is not wrapped in plastic dries and hardens. If you want to continue working on the next lesson, pack clay in a plastic bag without letting air get in. Note: dried, unfired clay is very fragile.

Baking
You cannot bake clay until it has dried for at least 2 weeks. Then it goes into a special oven that gets more than 1000 degrees. After a day and a night in the oven, the clay is hard and completely white.

Hole
It is important that you do not trap air. If there is a (small) air chamber inside your workpiece, then you have a problem. Warm air expands and therefore your workpiece will explode in the kiln. Do you want a hollow shape? Then poke a small hole in the clay.

Painting
After baking, your workpiece has become completely white, so a bit boring. Fortunately, baked clay is suitable for painting. If your clay is the right color, you could also paint it. This gives your artwork a nice shine.
Building with clay
You can do modeling in several ways. We are going to build with clay.
Score, slip, stick
By making clever use of slats and a roller, you can easily make clay plates. You can attach these clay plates to each other by following the steps below:
- Score: Roughen the two surfaces you want to connect by scratching the clay with a sharp object.
- Slip: Use slip (diluted clay) as glue to attach the boards together.
- Stick: Connect the glued plates together invisibly by finishing the edge with a spatula or knife.

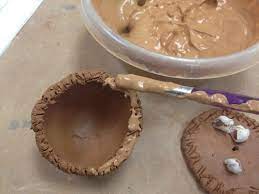

Album 2: Score, slip, stick
Structure and texture
Structure
We use the word structure to indicate how a surface is constructed. A knitted sweater, for example, is made up of all kinds of small stitches. These stitches then together form a structure. The grain of a piece of wood, or the visible pixels of a digital photo, also form a structure.
The ingredients of a cake all have their own structure. Think of the grainy structure of cake or the smooth structure of whipped cream.
Texture
By texture we mean how a surface feels. For example, an object's texture can be smooth, rough, hairy, or grainy. In short, texture is a tangible structure.
We are going to make sure that our cakes will have the right texture.


Album 2: Example of different structures
Texture with clay
To be able to create beautiful textures in clay, you have to get creative. First, think about what structure you would like to create. Then look for an object (that can get dirty) to experience this structure.

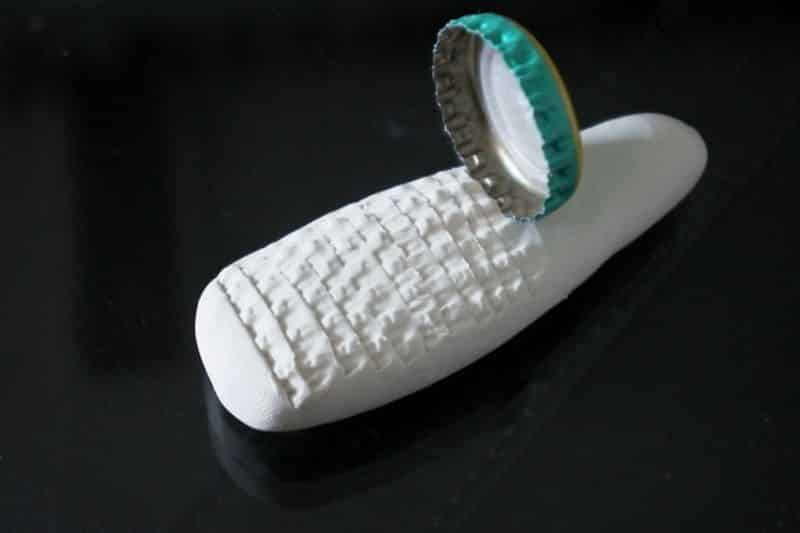


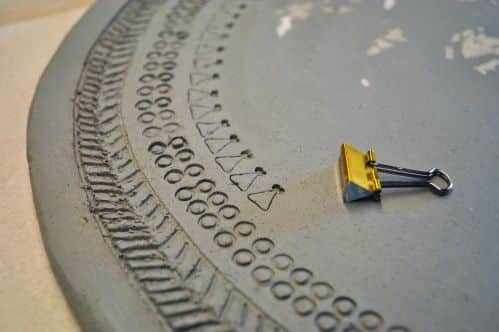
Album 3: Different ways to make texture in clay
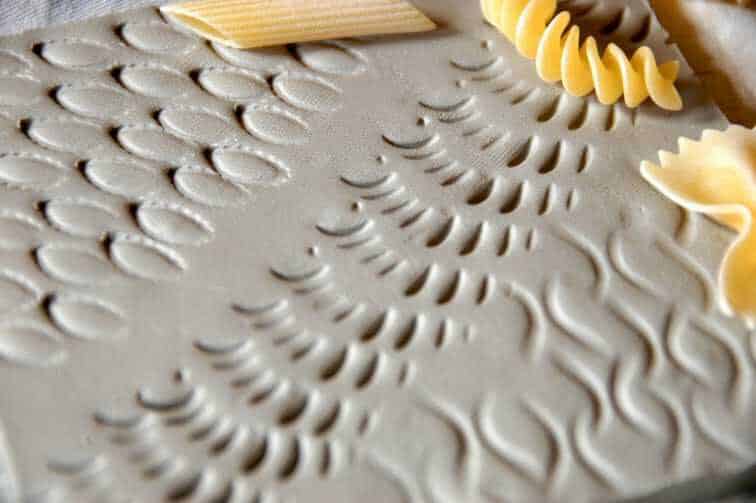
Collecting items
This is a homework assignment. Take at least 5 items with you to the eg lesson that you can use for original textures. You can also share and exchange items during class.
In the image below you can see some examples.

Figure 1: Examples of items you can use for textures
Cake!
For the final assignment, be inspired by your sketches from assignment 3. Choose a sketch or combine two or more sketches and perform this in clay.
Make sure your cake looks delicious by applying textures properly.
When your cake is baked, you will also paint it.
Assessment criteria
- You made your cake spatial
- You applied textures correctly
- You have applied clay correctly
- The colors used ensure that your cake looks delicious