
Once upon a time… People love stories. Many of the fairy tales we know are old stories that have been told for hundreds of years. It were the German brothers Grimm who collected these stories and wrote them down in their book 'Kinder- und Hausmärchen'. In this assignment we will work with these fairy tales and make our own creepy version!
Brainstorm
We are starting this lesson series with brainstorming.
- In your dummy, make a small word web about anything that comes to mind when you hear "fairy tales". For inspiration you can think of: What happens in fairy tales? Which characters appear in fairy tales? What can you say about the storyline? What creates tension and sensation? etc.
- Now write down as many fairy tales as you know.
- Choose one fairytale from assignment b and use this fairy tale as the basis for your own version.
- Come up with a scary twist for your chosen theme. Write down the storyline in your dummy in a few lines.
Fairy tales in art
Artists like to be inspired by fairy tales. Below you can see some examples made by different artists.
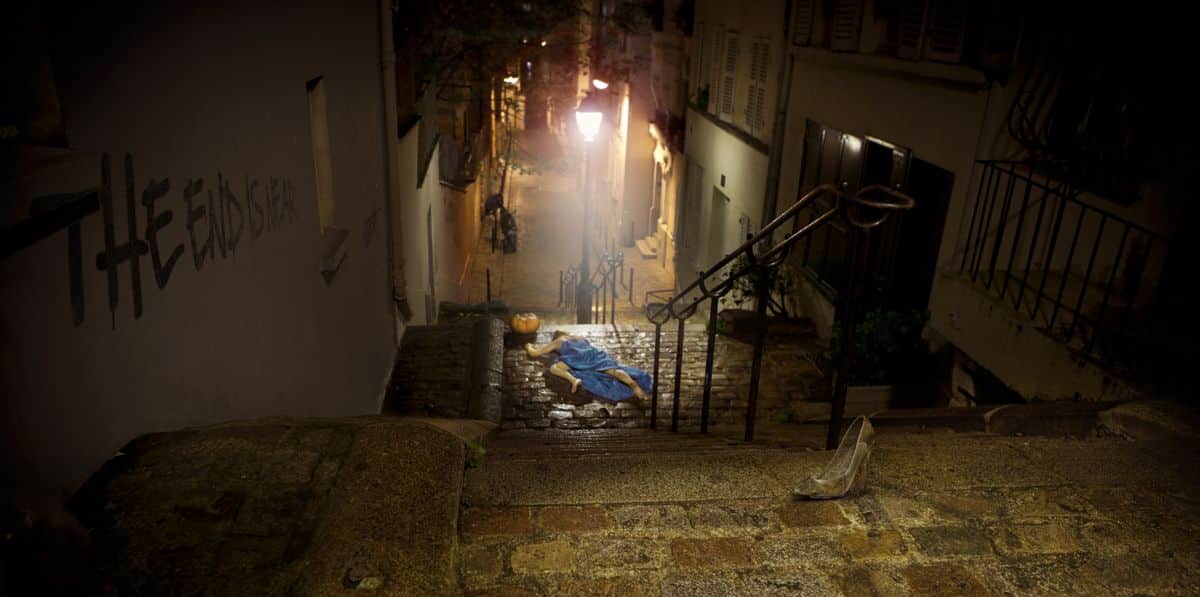


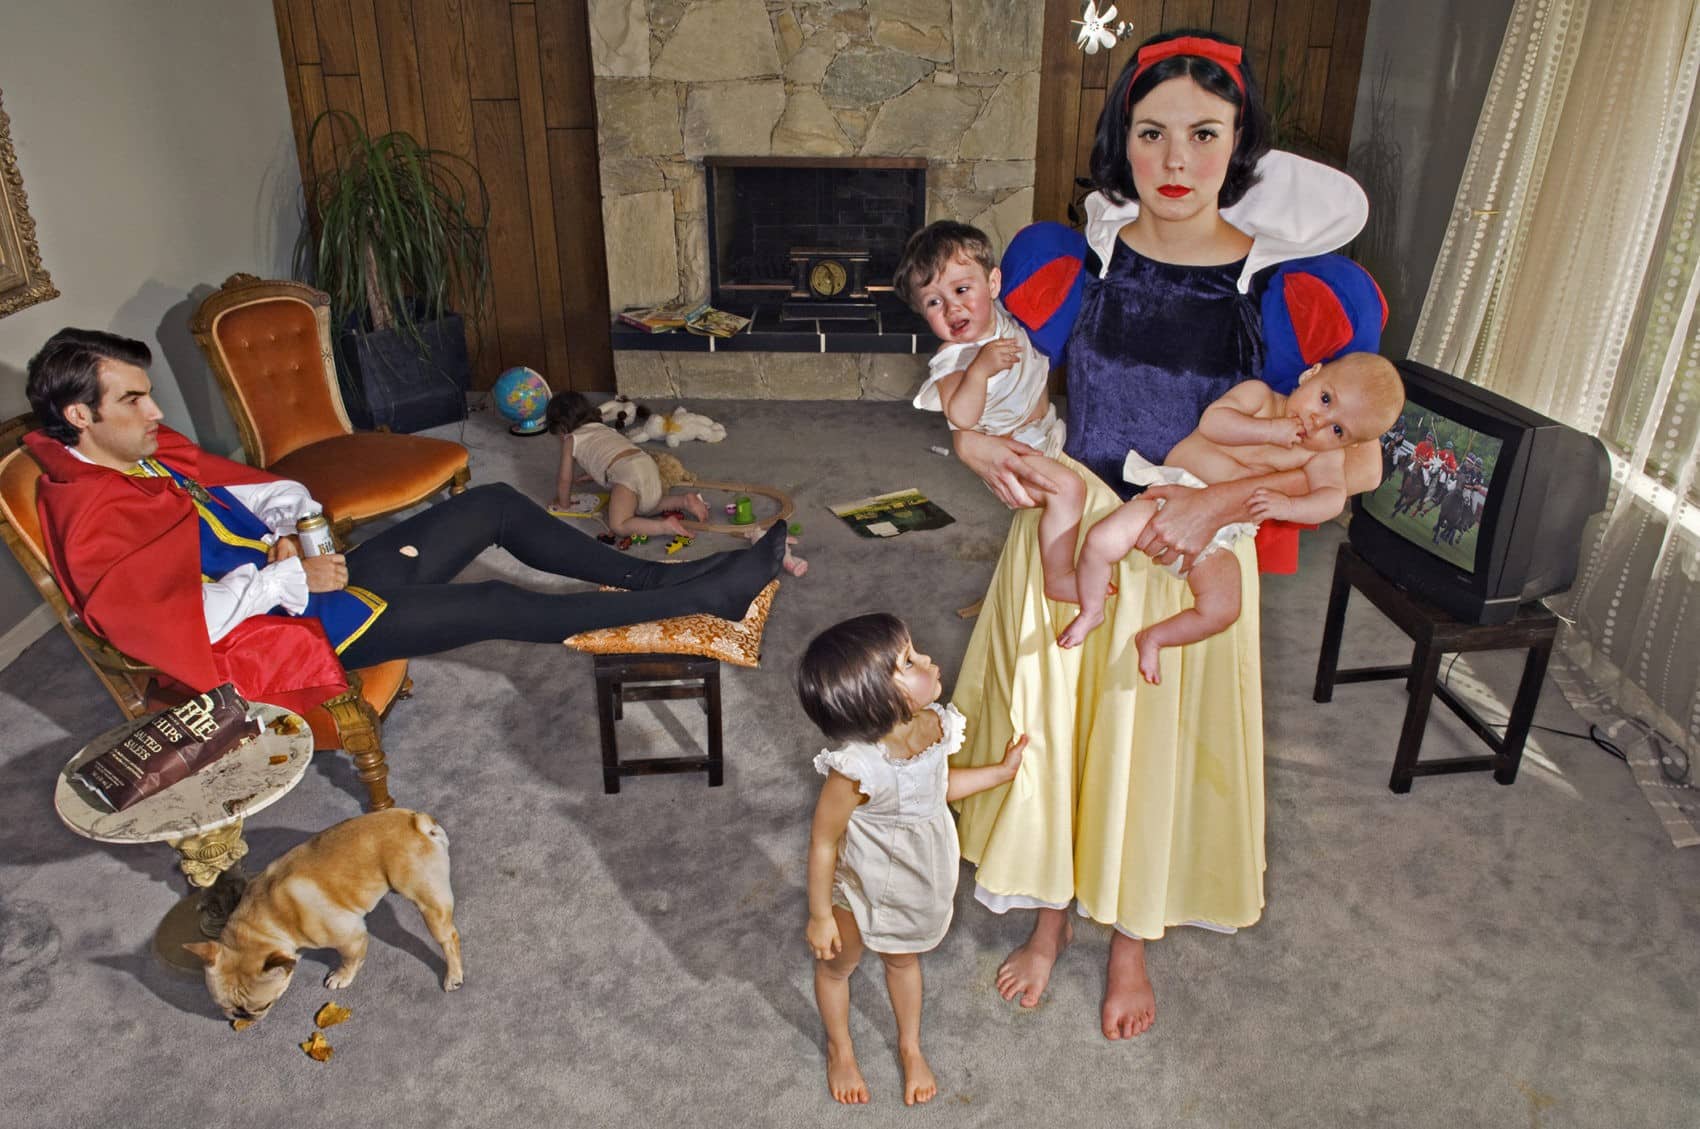

Photo album 1: Different works of art with the theme of fairy tales
Inspiration
In small groups (3-4 people) you view the images in photo album 1 above. First answer the answers below in your group, then compare your answers with those of another group.
- What do you see?
- What is different in this image than what you already knew about this fairy tale?
- How can this image inspire you?
Story board
A story board is a series of sketches or photos as an example for a story. Usually a story board is used by film directors. With the help of small quick sketches or photos, they can make it clear to everyone involved in the movie what the intention of the movie is.
Story board of collages
We are also going to make a kind of story board, but with collages. That way you have an example of your new creepy fairy tale.

Image 1: Example of a story board
Composition
When creating a storyboard, you need to think about the composition. Another word for composition is order. The way in which you arrange the parts within the image plane will make your collage more or less interesting to look at. You can also create space through proper organization.
Space effect
Experimenting with the arrangement of your collage can also provide an extra spatial effect. We also call this space, spatial effect or depth.
No space
On the right you see a number of different compositions with 3 circles. In image 2 there is no spatial effect, the circles seem to be next to each other on a flat surface.
Overlap
Image 3 uses overlap. This makes it seem as if one circle stands in front of the other. That means that one circle is closer to you than the other. That is why there is space.
Cut off
In image 4 you see that the circles partially fall outside the image plane. We call this cutting. This makes it seem as if the space is larger than just the image plane and therefore there seems to be more space.
Perspective
In image 5 you can see that the circles all have a different size. With a little imagination, you can imagine that the largest circle is closest and the smallest one the most far away. We call this way of working in space perspective.
Combination
You get the most space if you combine all these ways of working with space. You can see an example of this in image 6.

Image 2: No space effect

Figure 3: Overlap

Image 4: Cut off

Image 5: Perspective

Image 6: All ways of space effect mentioned above combined
Making a storyboard
- Choose the best story from your group. Now make a storyboard of that story with your group. Use the Piccolage app on your iPad for this. A few points of attention:
- Each group member represents one part of the story. Your storyboard will have as many images as group members.
- Create an interesting composition using the ways of working in space.
- Because this collage forms the basis of your final project, it is important that you do not make details too small.
- Make an exhibition of your storyboard in the classroom. In addition, submit the feedback form that you can download below. Fill in the feedback forms of the other groups during the tour.
The lino technique
You will soon be making a linocut as your final project. This is a form of relief printing. From a sheet of linoleum (also called lino) you cut away what should remain white and you keep what should become black. So you make a kind of stamp. Using printing ink and a lino press, you will print the linocut on paper.
In video 1 you can see how the process goes. In short, we will work using the following steps:
- Create final sketch based on your collage
- Convert sketch to black and white drawing
- Transferring the drawing to the linoleum
- Cutting linoleum
- Printing
Video 1: Making a linocut
Lino inspiration
The American artist Melissa West is also inspired by fairy tales. Her linocuts are a great example of how to turn a fairy tale into a linocut

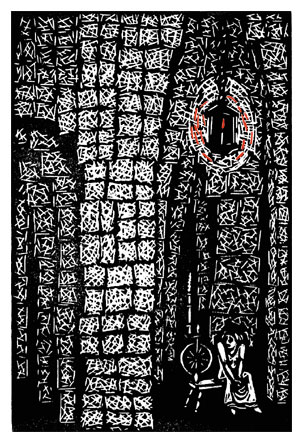


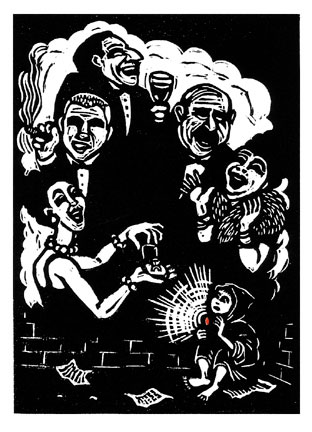
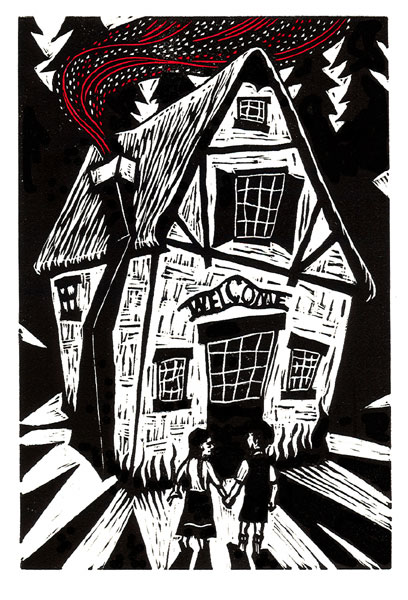


Gallery 2: Linocuts of fairy tales by Melissa West
Fairy tales, be horrified!
As a group, work out your entire story as a linocut. Work according to the step-by-step plan described above.
The piece of lino on which you work is approx. 12.1 x 16.1 cm. Print your lino on luxury A4 paper.
When all linocuts are ready, stick the loose linocuts on one large sheet of paper, creating one story.
By adding speech bubbles with extra paper, you make it even more clear what it is about.
Assessment criteria
- The story is original and has become a clear horror fairy tale
- From the series of linocuts it is clear what the story is about
- You have applied the lino technique correctly
- You worked well together
- The whole looks neat